1. Add a new league
On the League Manager start page, tap on the
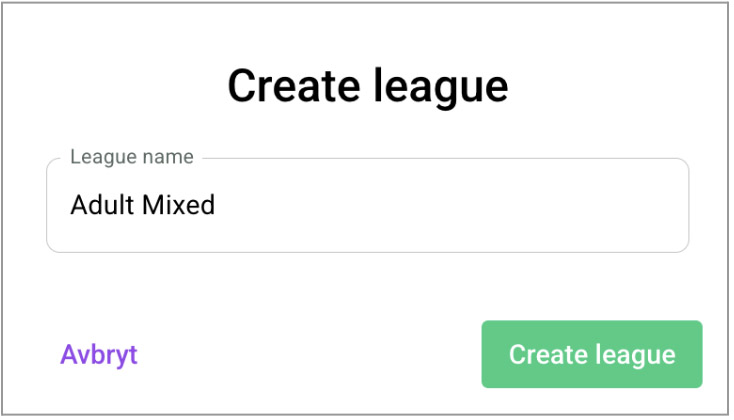
+ Add league button on the top right of the page. Enter the League name (without the year) and tap [
Create league].
2. Add a new season
On the League Manager start page, tap the
+ Add season button for the league you just created.
3. Set the basic season settings
Set up the basic settings for the season.
- Season (Fall, Spring, Winter, Summer)
- Number of weeks
- Number of teams
- Bowlers per team
- Number of lanes to be used
- Starting lane (this can also be set for each week)
- Day of the week
- Start date
- Start time
Tap [Save changes] in the bottom of the page when you have finished your settings.
Advanced settings:
Important note: Add the position rounds and Fun nights before you run the import historical scores tool (to make sure that the lane assignment/pairing for each week will be correct).
4. Setup the league format
You can now continue to configure the league format, rules, bylaws and handicap settings.
5. Setup teams and bowlers
There are two ways to add your teams and bowlers:
6. Lane pairing / assignment
The league manager uses the standard USBC lane pairing template for the number of teams and weeks. It is possible to override this setting and set your own lane pairing. Tap on Lane assignment and select the week that you want to change. You can change the lane number and/or team that is playing on the lane and then tap [Save changes].
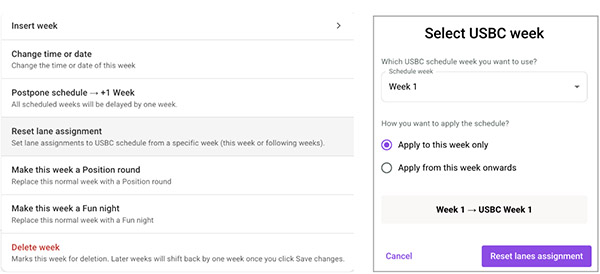
💡 Note: You can reset the lane assignment by going back to the Basic tab, tap the week on the bottom of the page and then select [Reset lane assignment]. A new window will open where you can select which template / schedule week to apply and if you want to apply it just on this week or to apply the USBC week template for every corresponding week onwards.
 Tutorial Video
Step‑by‑step video walkthrough